Cross Stitch Basics
Did you ever want to learn how to cross stitch? Well, we’ve rounded up the cross stitch basics that you need to know to get started.
The art of cross stitch can seem intimidating at first with all those x’s and patterns.
But worry not! It’s actually easier than you think and once you know the basics, you’ll be able to stitch a design and find a new hobby you’ll love.
In this post, we round up the cross stitch basics for beginners.
Cross Stitch Supplies for Beginners
The basics of cross stitch start with the right tools and materials. Although the supplies may not be easily bought in stores near you, there are tons of online stores you can buy from.
The art of cross stitching is becoming more and more popular which is why more and more online stores are opening up for people’s convenience.
There’s no need to feel overwhelmed if you are just starting your journey with this craft. We’ll guide you through the basics.
Let’s first dive into the basic materials you need to get started.
1. Fabric
There are a lot of fabric options out there. But the best type of fabric to use for cross stitching is “Aida.” Additionally, choose one in a light color.
Aida fabric is a woven fabric that has a grid of squares. This is perfect for creating the stitches.
Another thing to note when choosing the Aida cloth is that there are different counts. The most common one is 14 counts or 14 squares per inch. However, it comes in a wide range of counters.
The smaller the number, the fewer squares per inch and thus the larger your stitches. If you want really small stitches then go with a higher counter. This will require more thread and time to complete but will create a more intricate design.
However, if you are following a pattern, make sure to select the fabric recommended.
2. Thread
There are so many types of threads in the market. It can definitely feel overwhelming to know which one to choose to start cross stitching.
DMC, Anchor, and Sublime threads are some of the more popular choices for every Cross Stitch kit.
But don’t be bogged down by these details. Aside from doing some research, you can also try asking your local seller which thread is best used for cross stitching.
Thread is also called floss and all of these brands are cotton-based. However, thread does some in other material.
Each strand of floss also twists apart into 6 individual threads. These are what you work with for your pattern.

3. Scissors
Not all types of scissors are good to use when cross stitching. It’s important to use embroidery scissors.
These types of scissors are very small and have a sharp point at the end. This is used to undo any stitches in case you make a mistake. Additionally, they cut thread cleanly. This makes it easier to thread the needle.
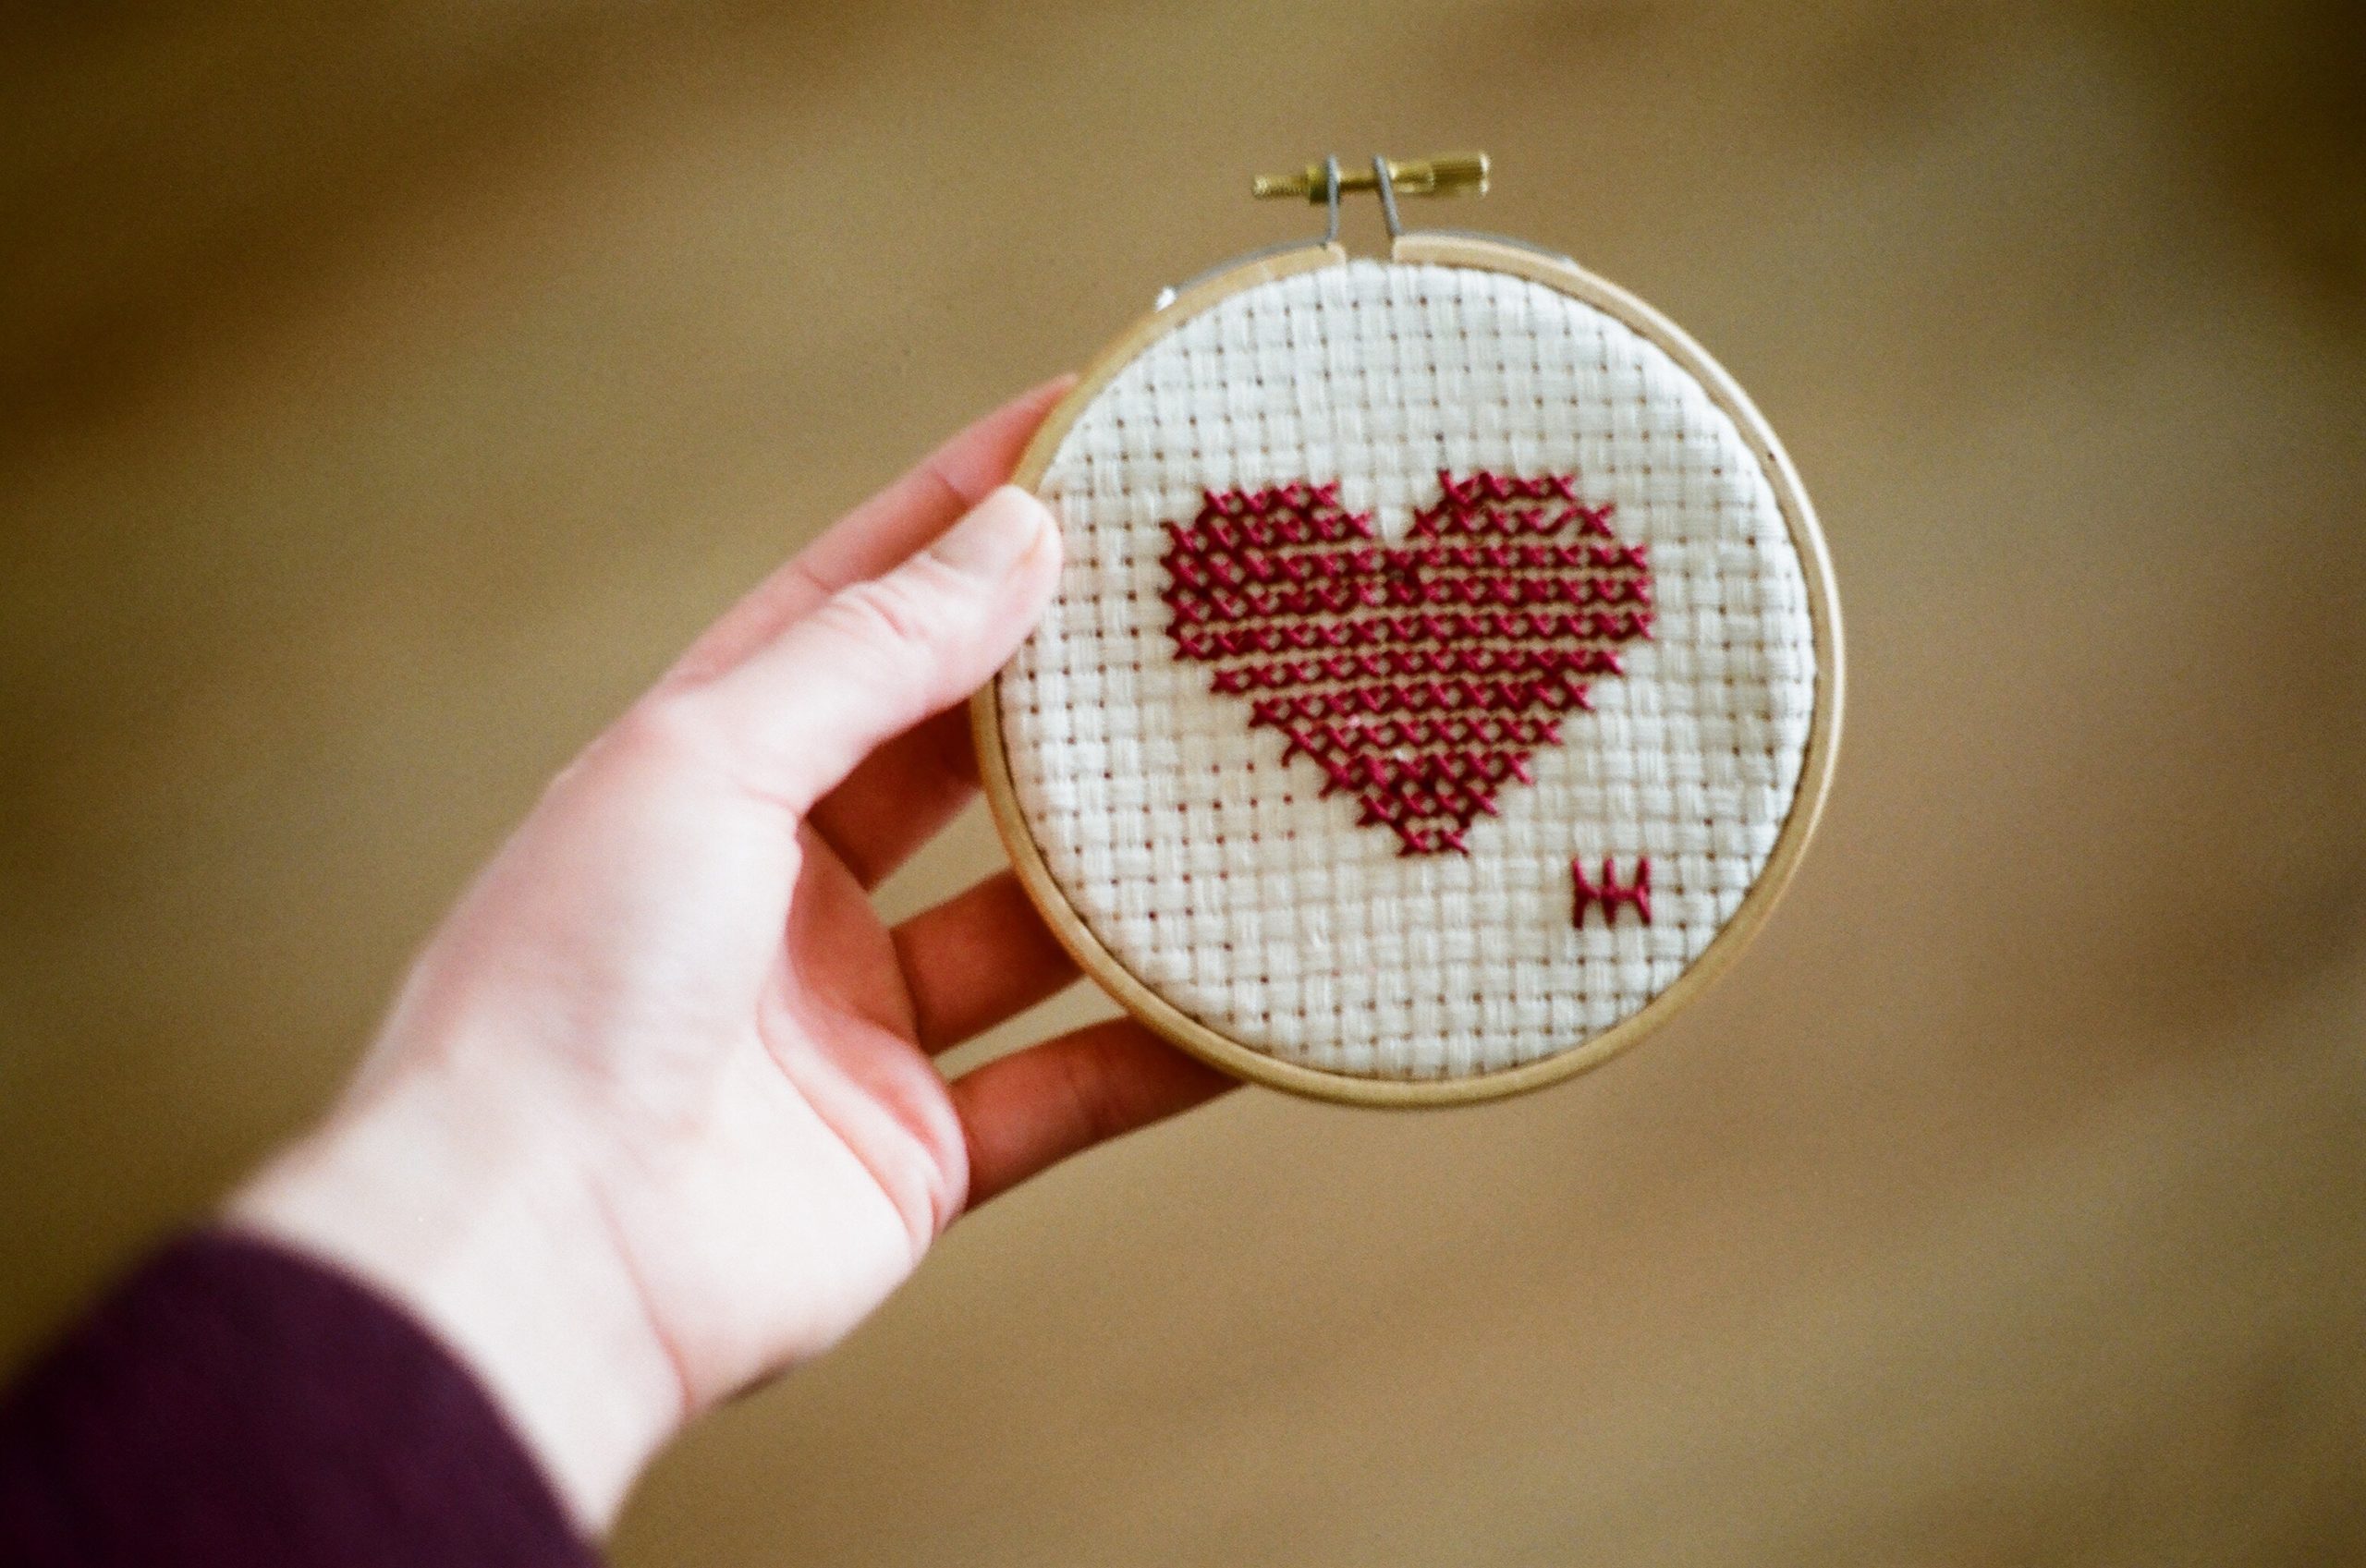
4. Embroidery Hoops and Frames
Embroidery hoops and frames are used to hold the fabric in position to tighten the stitches. They can be made from either plastic or wood.
There are also a lot of different sizes in the market. For cross stitch basics, you can start with an average seven-inch-sized hoop. These hoops can go up to 19 inches in size.
The average-sized hoop is good enough if you are just starting your cross stitch journey. It’s versatile and can be used with different kinds of patterns.
It’s also good to note that you’ll want to remove the hoops or frames in between stitching so that you don’t stretch the fabric too much.

5. Pattern
One of the cross stitch basics is of course the pattern. The pattern is what you’ll be following to create the design.
For beginners, it’s best to start with the simple ones first. These patterns should include the color pattern as well as the chart to show which color of the thread to use for each section of the pattern.
6. Needle and Needle Minders
For beginners starting out their cross stitching journey, it’s best to start with a tapestry needle.
This type of needle has a blunter end as compared to a sewing needle. The eye of tapestry needles are also much bigger than the usual sewing needle. This makes it easier to put the thread in.
Be careful to not buy embroidery needles as these have very sharp points in order to work with linen and other thick materials.
Another beginner’s tip is to pick gold-plated needles. They are great to use because they don’t rust and thus, won’t leave dirty rust marks on your fabric.
Investing in a needle minder is also a good idea so that you never lose your needles again. These are usually small magnetics that you can put on your fabric.
CROSS STITCH BASICS: Cross Stitching TIPS For Beginners
How to Make a Cross Stitch Color Block
Start from the center of the fabric. Then, count over 12 squares to the left. Once you’ve landed on the 12th square, mark it with a needle.
The next step is to count up 11 squares. This will help you find the starting point for your first stitch.
Once you’ve found the starting point, create a half stitch, then, flip to the backside of the fabric and make sure to secure the end of the thread. Do this by pulling the end of the thread under the loop which was formed by the backstitch you created.
Always remember to stitch the end of the floss or thread under the back of the loops to secure the thread. You can look at the backside of your fabric to make sure it’s done properly.
Stitching a Single Block
Another cross stitch basic is creating a single block.
To do this, you’ll want to stitch 6 half stitches side by side. Then, bring the needle through and work back across the row you’ve made of half stitches. This will create the full cross stitch and make a single block.
After completing the block, check the back of the fabric and make sure you run the needle and thread under the backstitch to secure the floss.
Creating Multiple Color Blocks
Now that you’ve created the first single colored block, you can move on to the next block.
Depending on the color indicated in the pattern, you will continue with that specific color. Just do the same process you did when creating your first single color block.
CROSS STICH BASICS: Basic Stitches for Beginners
Here are the basic stitches for cross stitch beginners.
Full Cross-Stitch
A full cross stitch is what it sounds like – a cross. Make one cross stitch for each “x” symbol in your pattern.
For a row or block of cross stitches, use the technique described above to create a single block of cross stitches.
Always remember to embroider or secure the end of the floss firmly at the back by looping the needle and thread under the stitch.
Half Cross-Stitch
Half-stitches are another cross stitch basic that you need to learn. It’s basically just one side of the full cross stitch. Remember to always bring the needle up the fabric on odd numbers (when counting the boxes) and down on even numbers.
Quarter and Three-Quarter Cross-Stitch
The quarter and three-quarter stitches are used to create round or curved shapes in the cross stitch design.
In order to make this type of stitch, you’ll first want to estimate the center of the square on the fabric.
The quarter cross stitch should extend from one corner of the square to the center.
The three-quarter cross stitch is a combination of both a quarter cross stitch and a half stitch. These stitches can slant or face any direction, depending on the pattern or design.
Backstitch
Another cross stitch basic that you need to know is the backstitch.
This type of stitch helps outline the design’s shape. This makes it more defined.
Start by working from right to left. Push the needle up from the back of the cloth. Start the next stitch by inserting the needle at the starting point. Then move it back up two stitches away.
Continue this pattern and make sure to keep all the stitches at the same length.
Straight Stitch

To make a straight stitch, move the needle up from the back of the fabric.
Depending on how long you want the stitch to be, push it down in the desired spot to make a stitch of your desired length.
That’s a simple straight stitch.
Cross Stitch BASICS: REMINDERS for Beginners
We’ve gone through the basic stitches you’ll need to learn to create simple designs. Now, here are a few final reminders for cross stitch beginners.
Snipping Your Thread
When snipping your thread, we suggest measuring it by putting it at the tip of your finger to your elbow. This is the ideal length of thread that you’ll want to work with.
If it’s too short, then you need to change your thread often which can be annoying. If the floss is too long, then it is likely to tangle and not as well as fray from the extended use.
Pulling the Needle
Another cross stitch basic and tip is to gently pull the needle when coming back down. Don’t pull it too tight as it can make your design look flat.
Additionally, when you pull the needle too tight, it can destroy the fabric. This can cause your design to pucker.
Cut Your Thread as You Go
Make sure to cut the thread at the back after securing or knotting them. This will make your work much cleaner and will help avoid any tangles.
Have an extra trash bin next to you to keep your workspace tidy as well.
Stitch in Natural Light
We recommend stitching your design under natural light. This makes it easier to see the stitches as well as the colors.
Additionally, it puts less stress on your eyes.
For stitching at night or when the sun isn’t out, sit next to a lamp or have a reading light near you.
Iron Your Finished Product
During the creation of your design, you’ll definitely be holding and folding or even crumpling the cloth to get to each stitch. Using a hoop or frame helps reduce these but there will still be marks from the frame.
Once you’re done with your product, you can iron it out. We suggest putting a towel on top of your fabric and iron the backside of the cloth and not the right side.
Ironing the front side will make the design look too flat, which is something you don’t want.
Don’t be afraid to keep learning, make mistakes, then learn again. Cross stitching is a fun and relaxing hobby that you’ll definitely enjoy!


